Introduction
Setting up a new Chromebook often involves connecting to the internet, but there are situations where you might need to initialize your device offline. Whether you’re in an area with limited connectivity or prefer to keep your devices offline for initial configurations, knowing how to boot a Chromebook without internet can be crucial. This guide will walk you through each step, ensuring a smooth and successful setup process.

Preparing for First Boot
Before you power on your Chromebook, it’s essential to gather all necessary supplies. Here’s what you’ll need:
– A fully charged Chromebook
– A compatible power adaptor
– Basic understanding of Chromebook’s hardware buttons
Ensure your Chromebook has enough battery. If not, plug it into a power source using the adaptor. Familiarize yourself with the power button, volume controls, and any other relevant buttons specific to your Chromebook model. This simple preparation helps avoid interruptions during the setup process.
Powering On the Chromebook
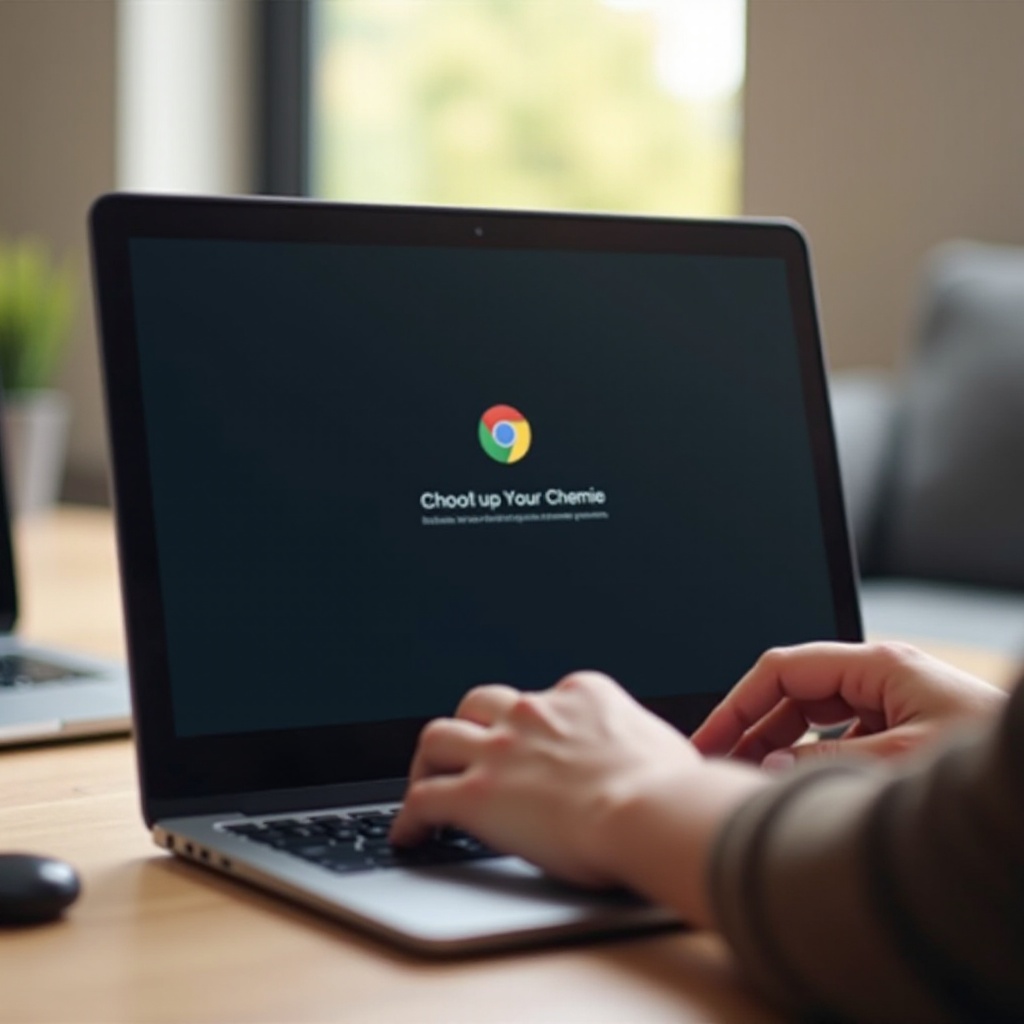
Once you have everything ready, it’s time to power on your Chromebook. Follow these steps:
1. Ensure the Chromebook is entirely powered off.
2. Press and hold the power button until the device turns on.
3. Release the power button when the Chromebook logo appears.
Your device will begin its initial boot sequence. Be patient during this process, as startup might take slightly longer than usual the first time. Once the boot sequence is complete, you will see a welcome screen indicating that your Chromebook is ready for setup.
Navigating the Setup Process Without Internet
Without internet access, the usual online setup steps won’t be available. However, you can still configure essential settings:
1. Language and Input Method:
– Select your preferred language from the dropdown menu.
– Choose your keyboard layout and input method.
2. Accessibility Features:
– Enable any necessary accessibility options, such as screen readers or magnifiers.
3. Time Zone and Date Settings:
– Manually set your time zone, date, and time. These settings are crucial for system operations and avoid inaccuracies in offline functionalities.
4. User Account Setup:
– Select the ‘Browse as Guest’ option. This will allow you to use the device without creating a Google account.
Follow the prompts to complete each step, ensuring you input accurate information. Though internet-dependent settings cannot be configured, these steps will ensure your device is operational in offline mode.
Offline Functionality
Chromebooks come with a range of offline functionalities that can be highly useful. Here’s what you can do:
– Use Pre-installed Apps:
– Many Chromebooks come with a suite of pre-installed apps such as Calculator, Camera, and more.
– File Management:
– Access and manage locally stored files through the Files app.
– Document Editing:
– Edit documents using offline-enabled apps like Google Docs, Sheets, and Slides. Ensure you’ve saved these documents locally beforehand.
– Entertainment:
– Watch downloaded movies or listen to music stored on your device.
While the Chromebook’s full potential is unleashed online, these offline features make sure you’re not entirely dependent on internet connectivity.
Troubleshooting Common Issues
Occasionally, you might experience hiccups during the offline setup. Here are a few common issues and their solutions:
– Unresponsive Screen:
– Hold the power button to force restart your Chromebook. Release when the screen turns off and press the power button again to attempt a normal boot.
– Incorrect Time/Date:
– Double-check your time zone settings. An incorrect time zone could lead to the wrong time and date.
– Keyboard Issues:
– Verify that the correct keyboard layout is selected. If the issue persists, navigate to accessibility options for on-screen keyboards.
Addressing these common issues can smooth out potential rough patches and get your setup back on track. Now that you have a functioning Chromebook, the next section will guide you on how to get online.
Connecting to the Internet Later
After completing the offline setup, reconnecting to the internet is straightforward. Doing so will unlock more features for your device.
1. Click on the bottom-right corner where the status area is located.
2. Select the Wi-Fi network you’d like to connect to from the list of available networks.
3. Enter the network password if prompted.
4. Follow additional prompts to finalize the connection.
Connecting to the internet will enable updates, sync data, and access cloud-based services, unleashing the full capabilities of your Chromebook.
Conclusion
Booting a Chromebook for the first time without internet access is not only feasible but also user-friendly. By following this guide, you’ll have your Chromebook set up and ready for offline use in no time. Remember that once you’re back online, your device will automatically sync and update, providing a seamless transition from offline to online functionality.
Frequently Asked Questions
Can I use a Chromebook without ever connecting to the internet?
Yes, you can use a Chromebook without connecting to the internet, especially for accessing pre-installed apps and locally stored files. However, to fully capitalize on its features, an internet connection is recommended.
How do I reset my Chromebook if something goes wrong during the offline setup?
Perform a hard reset by holding the Refresh button and pressing the Power button simultaneously until the Chromebook restarts. This forces a shutdown and reboot, which can resolve many startup issues.
What are the limitations of using a Chromebook offline?
While Chromebooks offer several offline functionalities, they lack access to cloud services, web apps, and the ability to sync data. Some apps also require periodic online verification, limiting long-term offline usability.