Introduction
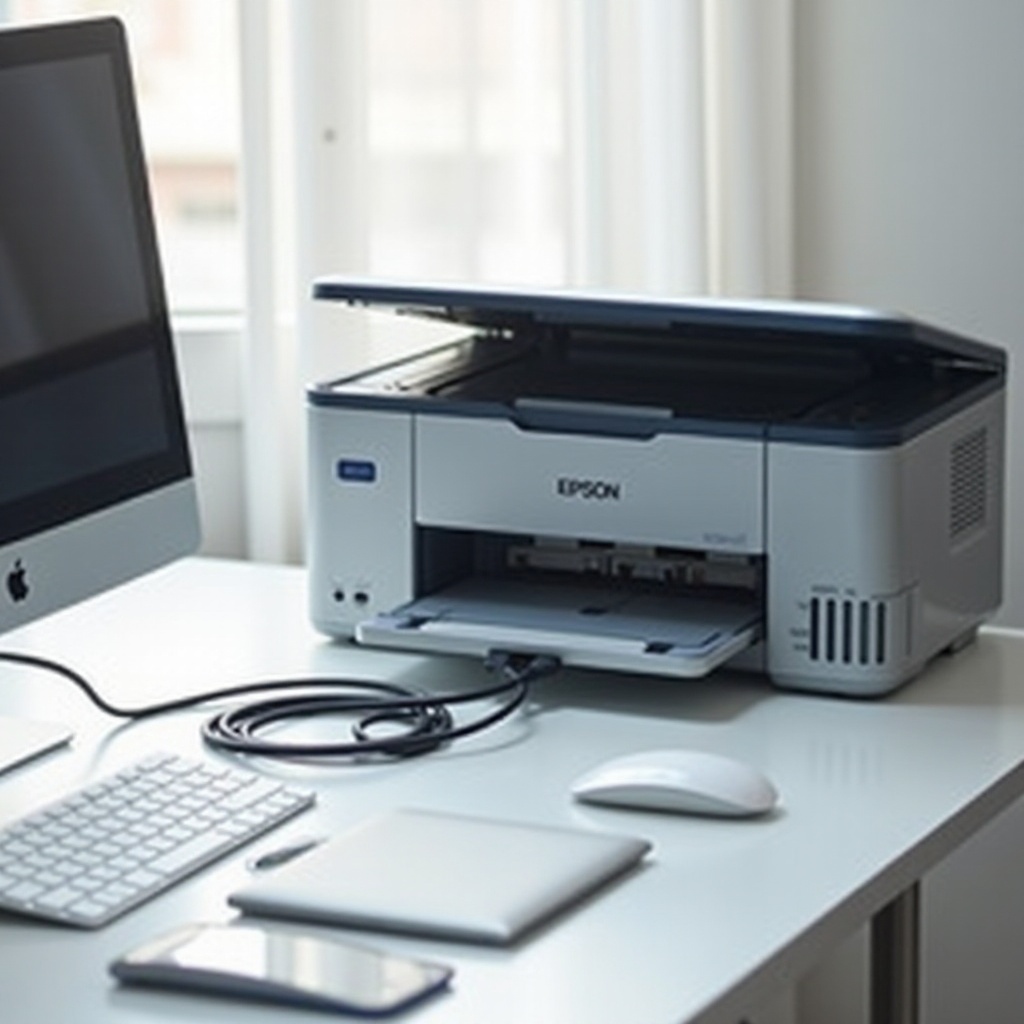
Connecting your Epson printer to a computer network can significantly enhance your efficiency, offering the convenience of wireless printing and the ability to print from multiple devices. This comprehensive guide walks you through the compatibility requirements, different connection methods, software installation, and common troubleshooting tips. Whether you choose a Wi-Fi or Ethernet connection, this guide ensures a seamless setup process for an uninterrupted printing experience.
Checking Printer Compatibility and Requirements
Before diving into the connection process, it’s essential to verify that your Epson printer supports network connectivity. Most modern Epson printers come with built-in Wi-Fi capabilities, but it’s always wise to check the user manual or Epson’s official website for your printer model’s specifications. Additionally, ensure that your computer and wireless router (if using Wi-Fi) meet the required standards for a successful connection.
Confirming these requirements before starting the connection process can help avoid potential issues down the line. Make sure you have the correct network name (SSID) and password on hand, as this information will be necessary to connect your printer to the network.
Connecting Your Epson Printer to Wi-Fi
Connecting your printer to Wi-Fi can be accomplished through the printer’s control panel or using the WPS method if your router supports it.
Method 1: Using the Printer’s Control Panel
- Turn on your Epson printer and navigate to the home screen.
- Select ‘Setup’ from the menu.
- Choose ‘Network Settings’ and then ‘Wi-Fi Setup’.
- Select ‘Wi-Fi Setup Wizard’ and wait for your printer to search for available networks.
- Choose your network name (SSID) from the list.
- Enter your network password using the printer’s control panel and confirm the connection.
Method 2: Using WPS (Wi-Fi Protected Setup)
- Ensure that your wireless router supports WPS.
- Press the WPS button on your router.
- On your Epson printer, navigate to ‘Setup’, then ‘Network Settings’.
- Select ‘Wi-Fi Setup’ and then ‘Push Button Setup (WPS)’.
- Follow the prompts to complete the connection process.
Once connected, your Epson printer will indicate a successful network connection. You can now wirelessly send print jobs from your computer or mobile device.
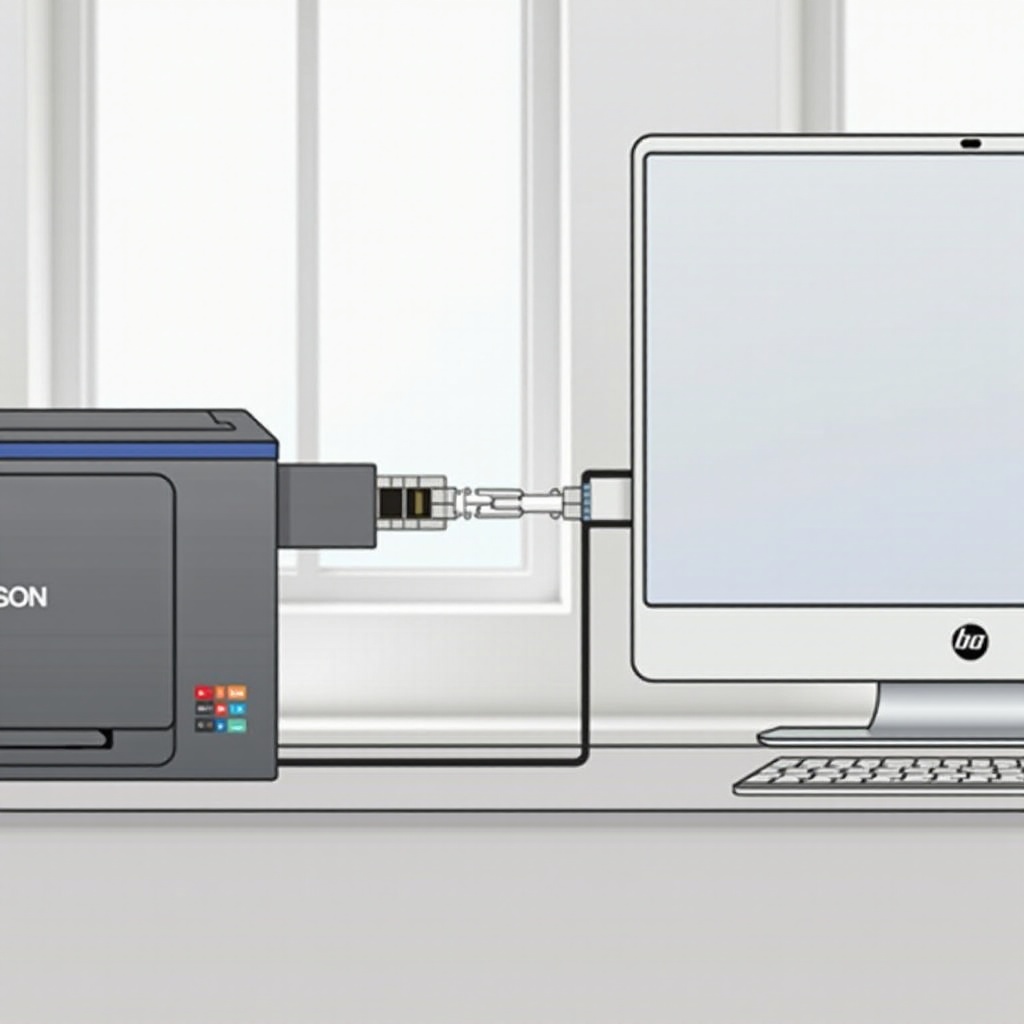
Ethernet Connection Setup and Configuration
For a more stable and secure connection, you might prefer setting up your Epson printer via Ethernet. This method is particularly useful for environments with high network traffic or interference.
Physical Setup
- Turn off your Epson printer and locate the Ethernet port.
- Connect an Ethernet cable from your printer to the router.
- Turn on the printer, ensuring the cable is securely connected.
Network Configuration Steps
- On the printer’s control panel, navigate to ‘Setup’ and select ‘Network Settings’.
- Choose ‘Ethernet Setup’ and follow the prompts to configure the network settings.
- Your printer should automatically detect and connect to the network.
With the Ethernet connection established, you can access the printer from any device on the same local network.
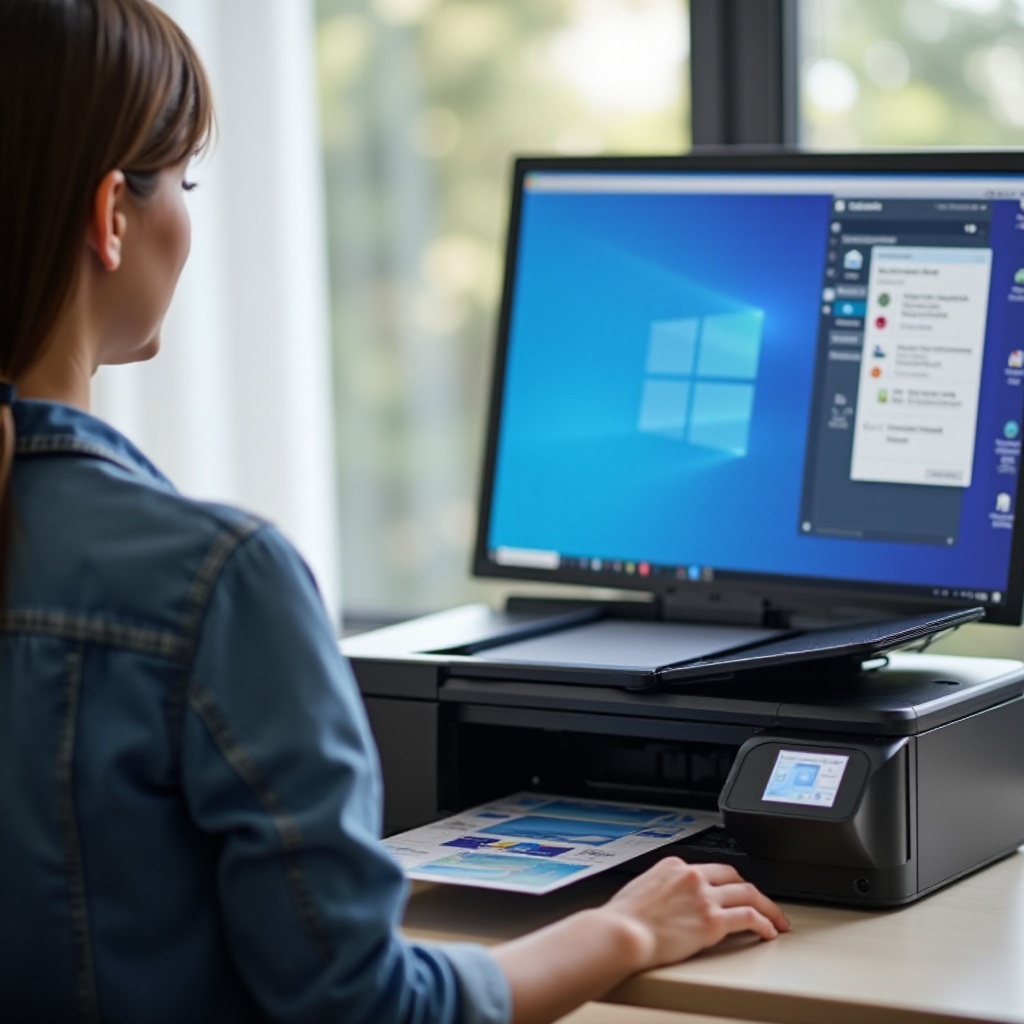
Installing Epson Printer Software on Your Computer
To fully utilize your Epson printer, installing the appropriate software and drivers on your computer is crucial. The process slightly varies between Windows and Mac operating systems.
Windows Installation Guide
- Visit the Epson support website and download the latest drivers for your printer model.
- Open the download file and follow the on-screen instructions to install the software.
- During the installation process, select the ‘Network’ option when prompted to choose the connection type.
- Follow the prompts to complete the setup, ensuring your printer and computer are on the same network.
Mac Installation Guide
- Download the latest Epson printer drivers from the Epson support website.
- Open the installation file and follow the on-screen instructions.
- Add your printer to the Mac’s ‘Printers & Scanners’ list.
- Ensure that you select ‘Network’ as the connection type and complete the setup.
After installing the software, perform a test print to confirm that your Epson printer is correctly connected to the network.
Troubleshooting Common Connection Issues
Even with the most straightforward instructions, you might encounter issues connecting your Epson printer to the network. Here are some common problems and their solutions.
Printer Not Recognized by Network
- Ensure your printer is within range of the router.
- Double-check that the correct network name and password are entered.
- Restart your router and printer to refresh the connection.
Connectivity Drops
- Confirm there are no obstructions between the printer and the router.
- Update the firmware on your printer and router.
- Consider switching from Wi-Fi to Ethernet for a more stable connection.
Consistently experiencing connectivity issues might indicate a need for professional support from Epson.
Conclusion
Setting up an Epson printer on your computer network can be straightforward with the right guidance. By ensuring compatibility, choosing the correct setup method, installing necessary software, and knowing how to address common issues, you can enjoy hassle-free printing in no time.
Frequently Asked Questions
How do I reset my Epson printer’s network settings?
To reset the network settings, go to ‘Setup’ > ‘Network Settings’ > ‘Restore Network Settings’ on your printer’s control panel.
Can I connect multiple computers to my Epson printer on the same network?
Yes, once the printer is connected to the network, any computer on the same network can access it for printing.
What should I do if my Epson printer keeps losing its network connection?
Check for firmware updates on your printer and router, ensure there are no obstructions, or consider an Ethernet connection for better stability.