Introduction
Fitting the base onto your Blink camera is an essential step for ensuring the security and functionality of your device. This comprehensive guide provides clear, concise directions to help you get your Blink camera set up quickly and effectively. By following these steps, you’ll have your camera up and running in no time, providing peace of mind and enhancing your home security.
Materials Needed
Before diving into the installation, gather the following materials:
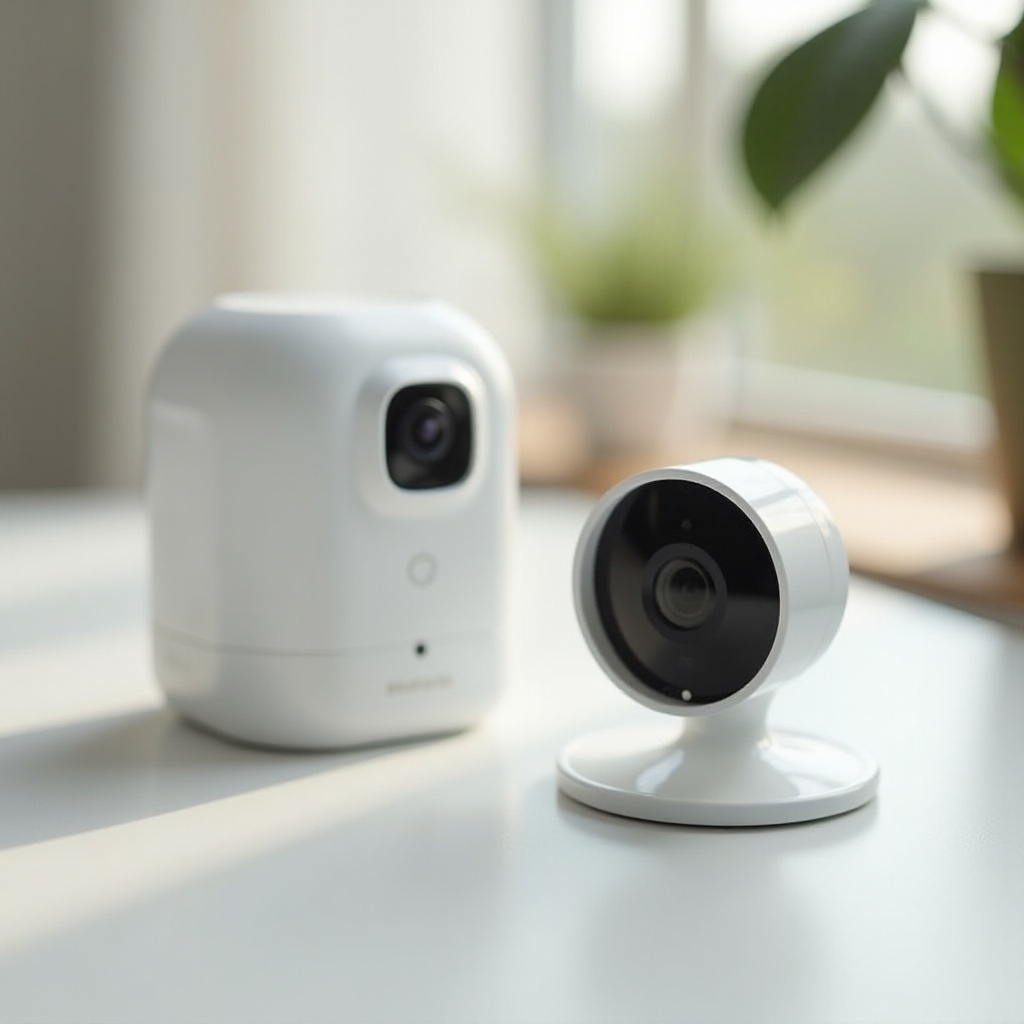
- Blink camera with its base
- Screws or adhesive (depending on your mounting preference)
- Screwdriver or drill
- Level tool
- Measuring tape
Having these items ready will streamline the process and allow for a smooth installation.
Step 1: Unboxing Your Blink Camera
Start by carefully unboxing your Blink camera. Inside the package, you’ll find the camera itself, the base, mounting hardware, and a quick start guide. Take a moment to familiarize yourself with each component.
Ensure all parts are present. Missing items can hinder the installation process, delaying your setup. If anything is missing, contact Blink customer support for assistance before proceeding.
Unboxing is the first step towards a successful installation, setting the stage for the rest of the process. With everything laid out, you’re ready to move on to preparing the base.
Step 2: Preparing the Base
The base is the foundation of your Blink camera’s stability, making its preparation crucial.
- Choose the Installation Area: Select an area with a solid surface for mounting. This ensures stability and optimal camera performance.
- Clean the Surface: Wipe down the surface where the base will be mounted to remove dust and debris, ensuring a secure attachment.
- Align the Base: Position the base where you want to mount it. Use a level tool to ensure it is straight.
- Mark Drill Holes: If using screws, mark the spots where you will drill holes. This will help maintain accuracy.
With the base prepared, you are ready to attach it to the camera. This foundational work ensures the camera will be steady and reliable.
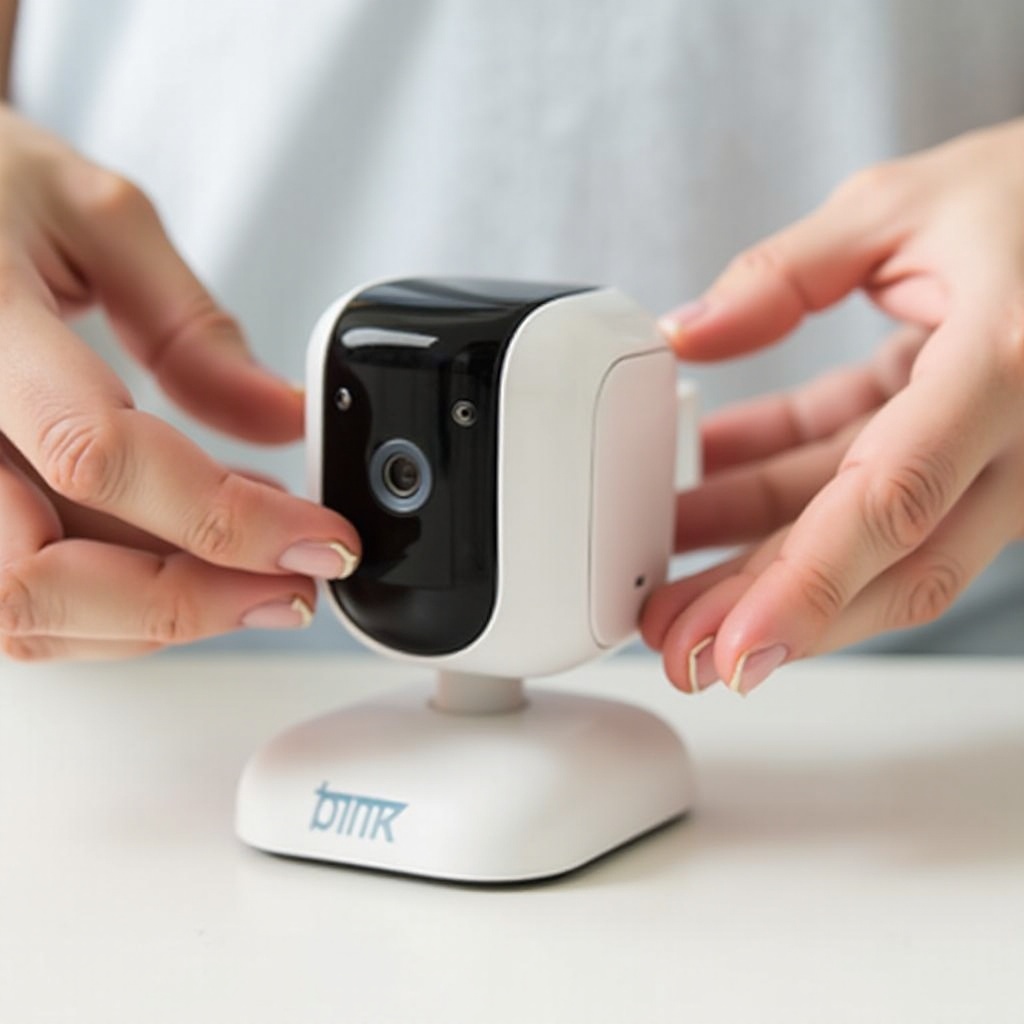
Step 3: Attaching the Base to the Camera
Attaching the base to the camera is a critical step that requires attention to detail:
- Position the Base: Align the mounting holes of the base with the corresponding holes on the camera.
- Insert Screws or Adhesive: Use the provided screws to attach the base securely. If you prefer adhesive, apply it following the manufacturer’s instructions.
- Tighten Screws: Ensure the screws are tightened firmly without over-tightening, which can damage the camera.
- Check Stability: Once attached, tug gently on the base to make sure it is securely fastened.
A well-fitted base ensures your camera remains in place, reducing the risk of falls or misalignment.
Step 4: Mounting the Camera
With the base securely attached, you are ready to mount the camera:
- Position the Camera: Hold the camera up to the prepared mounting location. Align it to the marks from Step 2.
- Attach the Camera: Use screws or adhesive to secure the base to the surface.
- Check Alignment: Ensure the camera is level and positioned correctly. Use the level tool again if necessary.
- Secure Everything: Double-check all screws or adhesive points to ensure the camera is fixed securely.
Mounting the camera correctly is vital for capturing the desired field of view, providing the security coverage you need.
Step 5: Final Adjustments
Now that the camera is mounted, it’s time for final adjustments:
- Test the Viewing Angle: Check the camera’s live view through the Blink app to confirm the angle covers the desired area.
- Adjust as Needed: Slightly pivot or tilt the camera to correct any misalignments.
- Secure the Position: Once satisfied, ensure all positions are locked and stable.
These adjustments fine-tune your camera’s effectiveness, ensuring you get the most out of your setup.
Troubleshooting Common Issues
Even with careful installation, you might encounter some issues:
Blink Camera Not Sitting Properly
- Check Alignment: Ensure all screws are in place and tightened equally.
- Base Compatibility: Verify the base model matches your Blink camera model.
Base Stability Problems
- Surface Inspection: Confirm the mounting surface is even and free of dirt.
- Use Proper Tools: Ensure you used the correct screws and adhesive methods.
These fixes can resolve common issues, maintaining the camera’s functionality.

Conclusion
Successfully fitting the base onto your Blink camera involves careful planning and execution. By following these steps, you ensure a stable and effective camera setup, enhancing your home security with ease.
Frequently Asked Questions
Can I install the Blink camera base without professional help?
Yes, this guide is designed for easy, DIY installation without the need for professional help.
What should I do if the base is not stable?
Ensure the surface is clean and even. Tighten all screws properly and check alignment.
Where is the best location to mount the Blink camera?
Choose a location with a clear view of the area you want to monitor, free from obstructions and at a height that maximizes coverage.