Introduction
Testing speakers with a multimeter is essential for audio enthusiasts who want peak performance from their systems. Through proper testing, you can detect issues like faulty components or incorrect impedance that affect sound quality. This guide provides step-by-step instructions to accurately diagnose and repair speaker problems.
Understanding Multimeters and Speakers
Mastering the use of multimeters and understanding speakers’ mechanics form the cornerstone of successful audio diagnostics.
Basics of Multimeters
A multimeter is a handy instrument used to measure key electrical parameters such as voltage, current, and resistance. Whether you’re new or experienced, knowing how to navigate a multimeter is crucial for getting accurate results.
How Speakers Work
Speakers convert electrical signals into sound by moving a cone in response to current. Preserving signal integrity is vital, which is why accurate testing is indispensable.
Key Terminology
Familiarize yourself with these important terms:
– Resistance: The opposition to electric current.
– Impedance: The speaker’s resistance in an AC circuit.
– Continuity: Indicates an unbroken path for current flow.
Understanding these basics makes it easier to proceed to more advanced testing steps.
Essential Tools and Safety Precautions
Before testing, gather the necessary tools and follow all safety precautions to ensure the protection of both yourself and your equipment.
List of Required Tools
- Multimeter: Either digital or analog will work.
- Speakers: The ones you intend to test.
- Test Leads: Connect the multimeter to the speaker terminals.
Safety Tips for Accurate Testing
- Power off devices before testing to avoid electric shocks.
- Handle multimeter probes with care to prevent short circuits.
- Verify all connections are secure for accurate results.
Equipped with the right tools and adhering to safety practices preps you for effective testing.
Preparing the Speaker and Multimeter
Sufficient preparation of both your speaker and multimeter ensures precise and reliable measurements.
Checking Speaker Condition
A visual examination can easily spot issues like tears or faulty wiring.
– Inspect the speaker cone for physical damage.
– Ensure wiring is intact and secure.
– Clear any debris from the speaker.
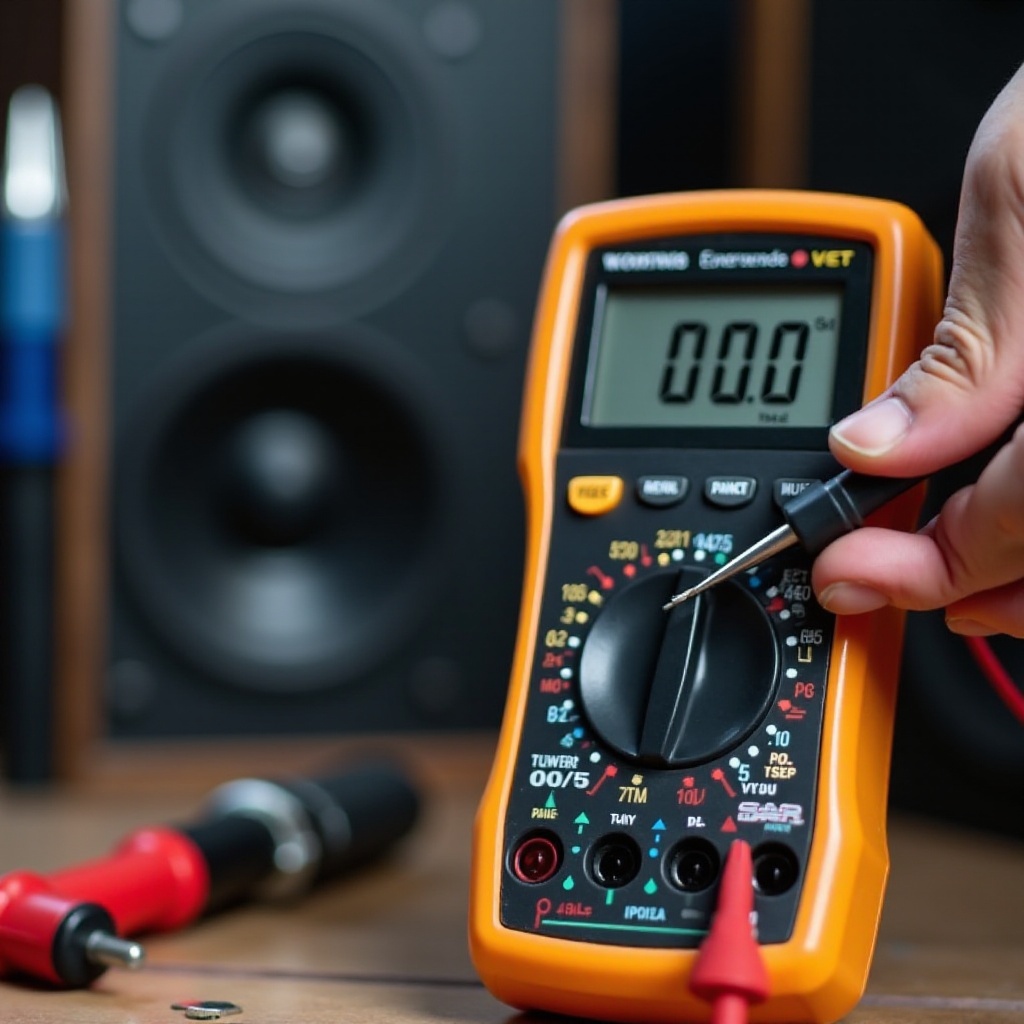
Setting Up the Multimeter
Proper setup is crucial for obtaining accurate readings:
1. Turn on the multimeter.
2. Set it to measure resistance, usually indicated by the ohms symbol (Ω).
3. Connect the test leads to the appropriate ports on the multimeter.
With both tools prepared, you’ll increase the accuracy of subsequent tests.
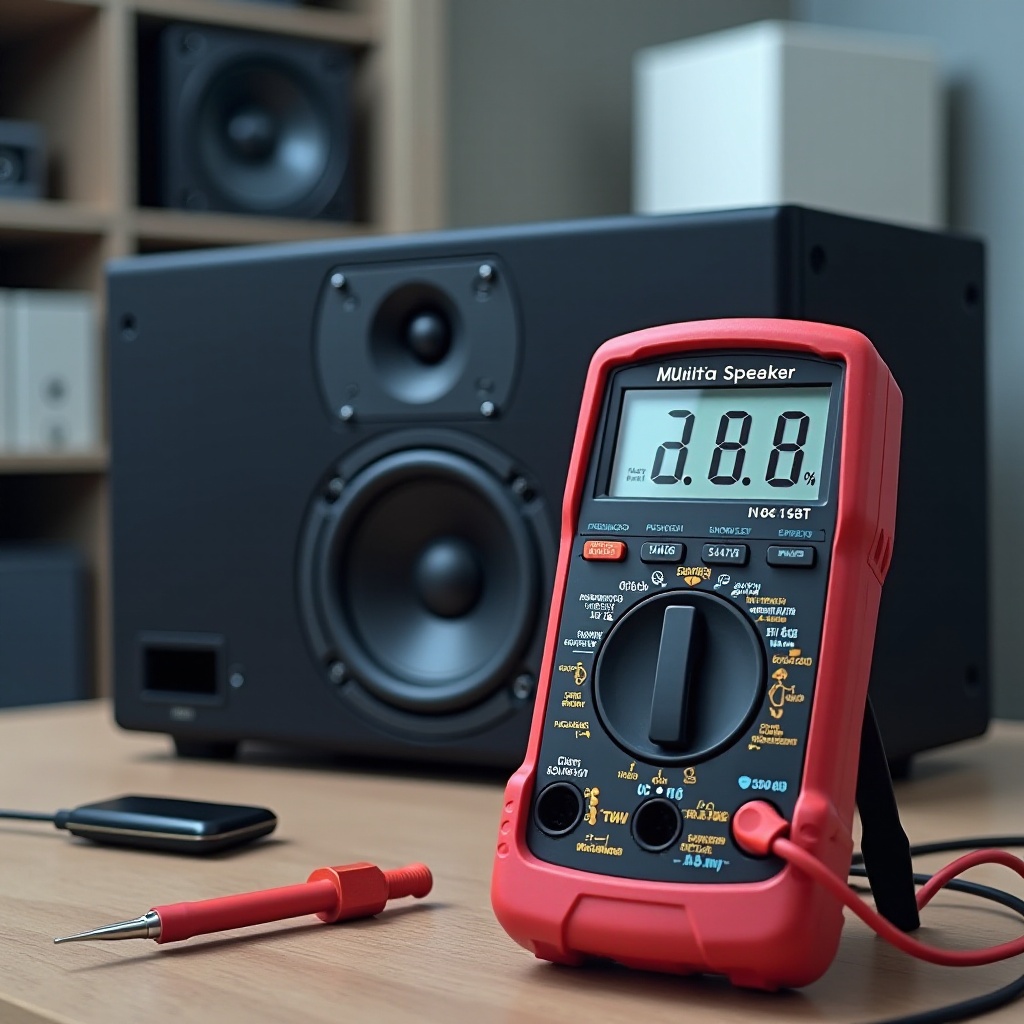
Testing Speaker Impedance with a Multimeter
The first practical test involves measuring speaker impedance. This step confirms whether the speaker’s load meets its specified range.
Setting the Multimeter
- Ensure the multimeter is set to the correct resistance setting.
- Adjust the range settings on manual multimeters, if necessary.
Measuring Resistance of the Speaker
- Connect the black probe to the negative terminal of the speaker.
- Attach the red probe to the positive terminal.
- Observe the impedance displayed on the multimeter.
Analyzing and Interpreting Results
- Compare the measured impedance with the speaker’s rated value.
- Deviations might indicate issues like damaged or shortened coils.
This test offers insight into the speaker’s basic electrical parameters, setting the stage for further diagnostic work.
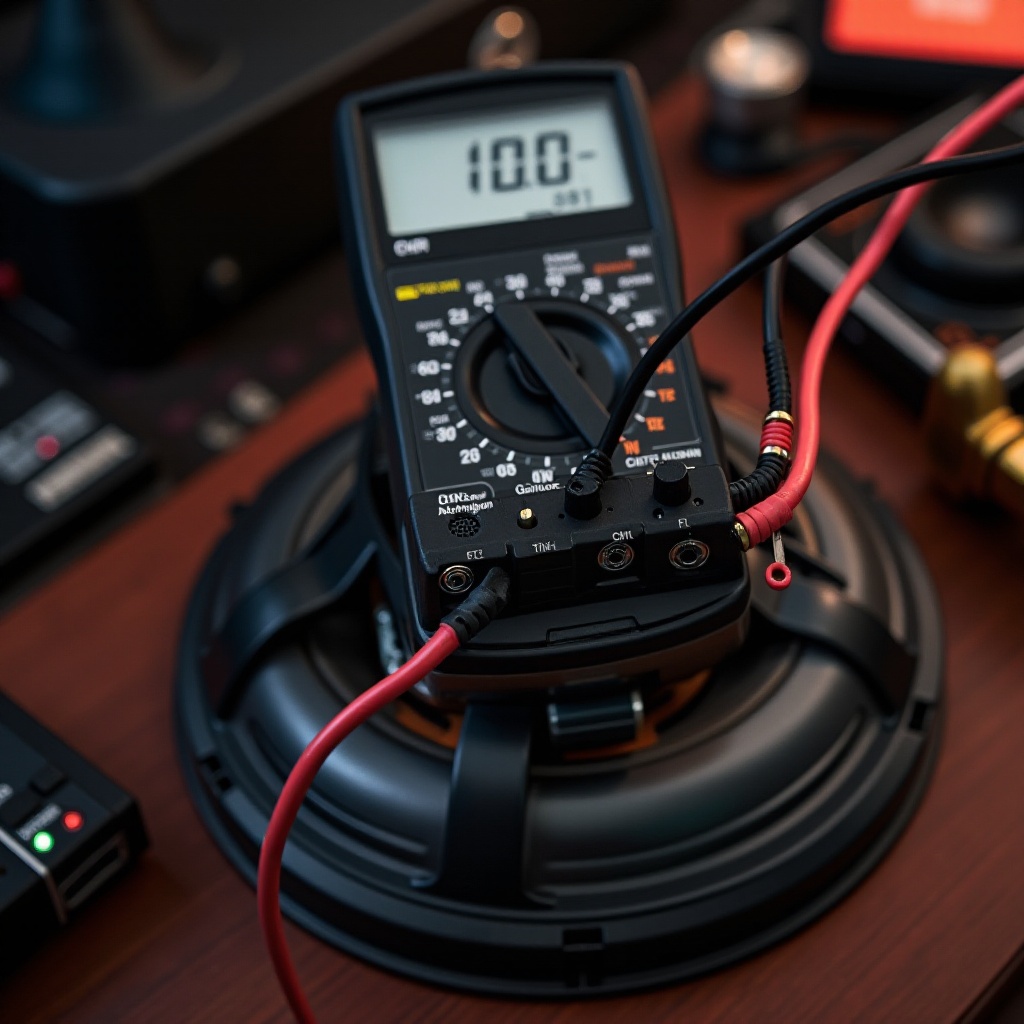
Testing Continuity for Speaker Health
Continuity testing assesses if there is an unbroken path for current, crucial for ensuring operational speakers.
Understanding Continuity
Continuity tests confirm the completion of electrical circuits. A complete path ensures functionality.
Performing Continuity Test
- Switch the multimeter to continuity mode (look for a sound wave or diode symbol).
- Place probes on each speaker terminal.
- Listen for the beep indicating continuity.
Reading and Utilizing Results
- A continuous beep indicates complete electrical flow, suggesting the speaker is functional.
- Absence of a beep may signal broken connections or defective components.
Continuity tests give you a straightforward way to confirm speaker readiness.
Troubleshooting and Addressing Common Issues
Despite testing, some speakers may show faults. Understanding these issues aids in resolving them effectively.
Identifying Speaker Malfunctions
Symptoms indicating speaker issues include:
– Distorted sound
– No sound output
– Manifestations of excessive static
Common Issues and Solutions
- Impedance Mismatch: Reconnect and test again; if issues persist, consult technical resources.
- No Continuity: Check for loose wiring and replace any faulty parts.
Knowing typical issues enables you to choose the best troubleshooting or repair solutions.
Maintaining Your Speakers
Regular maintenance can extend both the life and performance of your speakers, minimizing numerous repairs.
Regular Maintenance Tips
- Frequently clean connections with a soft cloth.
- Store speakers in dry, dust-free environments.
- Perform periodic tests to identify problems early.
Importance of Routine Testing
Consistent testing helps you catch minor issues before they develop into significant problems.
Conclusion
Properly using a multimeter to test speakers resolves typical issues and elevates audio performance. This guide simplifies the testing process, encouraging regular checks and maintenance to ensure lasting speaker health.
Frequently Asked Questions
Can I use a digital multimeter for speaker testing?
Yes, both digital and analog multimeters can be used. Digital multimeters often provide more precise readings.
What is a good impedance reading for a speaker?
Standard ratings are usually 4, 6, or 8 ohms, with minor variations accepted. Check your speaker’s manual for specifics.
Why is continuity testing important for speakers?
Continuity tests confirm the presence of an unbroken electrical path, essential for reliable speaker performance.